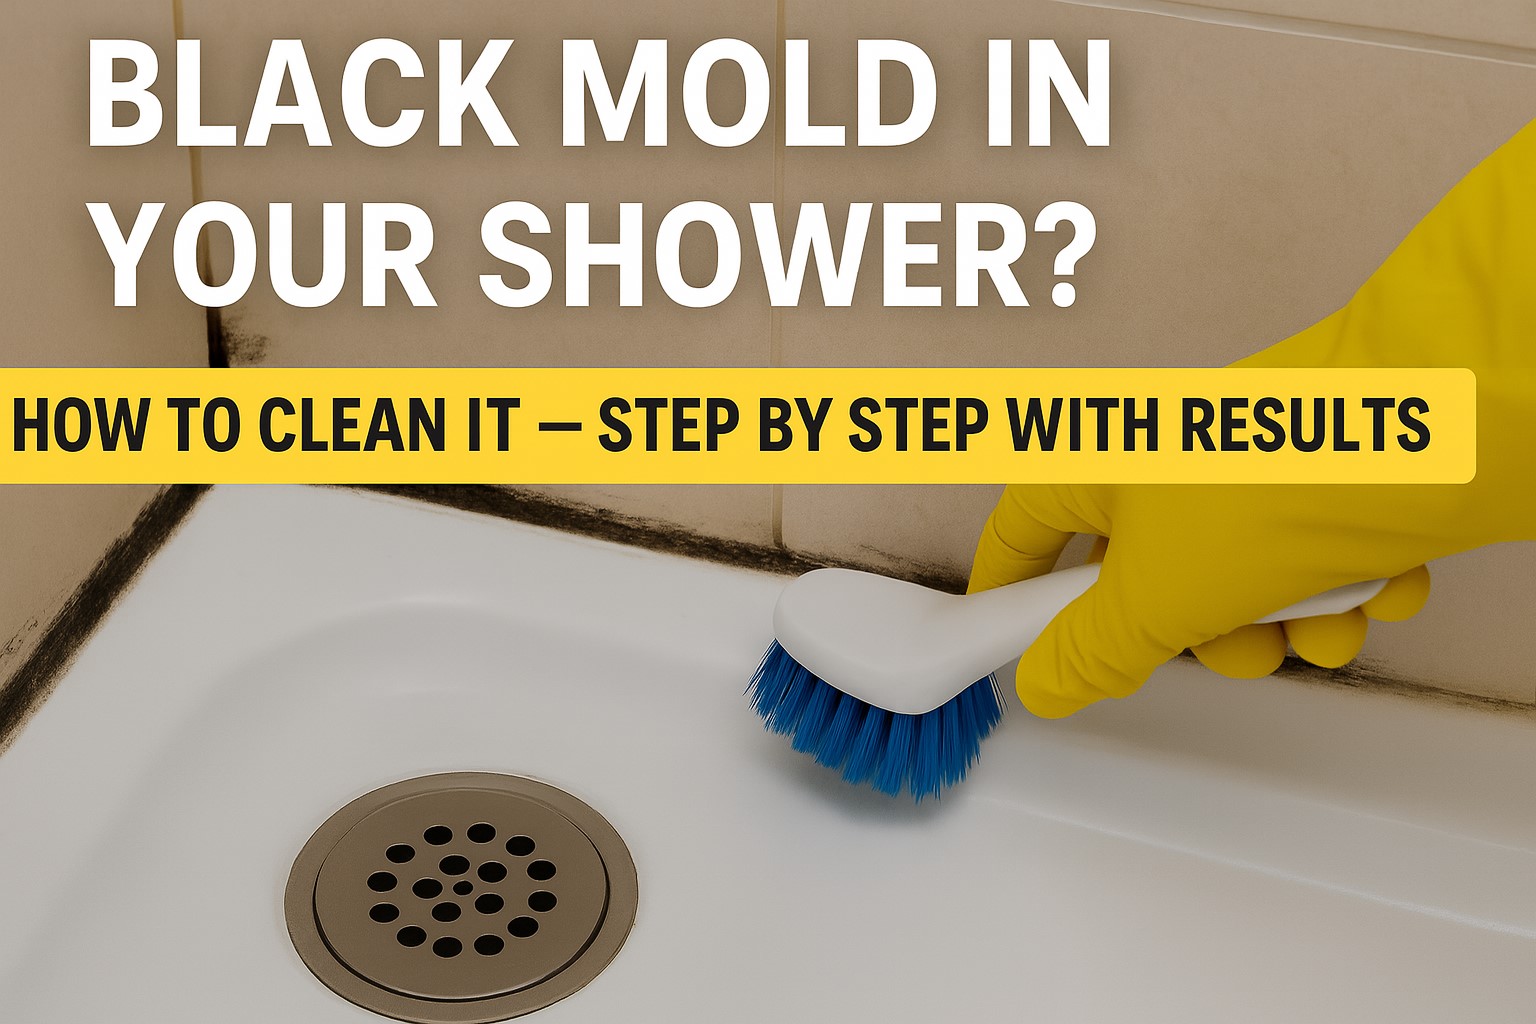
If you’ve discovered black mold in your shower, you're definitely not alone. Mold is like that uninvited guest who thrives in damp environments, and let’s be real—your bathroom is basically its favorite hangout. With all that steam from hot showers and the moisture from daily use, it creates the perfect breeding ground for this pesky fungus. But don’t fret! In this guide, I’ll walk you through effective, step-by-step methods to clean and prevent mold growth, ensuring a healthier bathroom for you and your family.
When I first noticed the black spots creeping up the corners of my shower, my heart sank. I know what you're thinking: "Is this stuff really dangerous?" Yes, it can be, especially for anyone with serious health conditions, like asthma or allergies. The health effects of mold exposure can be quite strong, and I wanted to take action before it became a bigger problem.
You might be wondering how much it’s going to cost to tackle this issue. The estimated cost of materials can vary. For a basic cleaning, you might spend around $10 to $30, depending on what you already have at home. However, if the mold has gotten out of hand and you need to call professionals, the average cost can skyrocket to hundreds. So, let’s make sure we’re proactive to prevent future buildup!
The Mold Lifecycle
Mold spores are everywhere, just floating around in the air. They thrive on organic materials—think soap scum, hair, and even dead skin cells. When humidity levels rise, like after a long, steamy shower, those spores can settle and grow into black mold, which may quite literally take over your space if left unchecked.
I remember once chatting with a friend who had a serious mold problem in her bathroom. She didn’t take steps to prevent future growth, and soon enough, she was facing a huge mess that required significant remedial action to prevent further issues. It was quite a strong reminder that a little prevention goes a long way.
Tools You'll Need
Before diving into the cleaning process, gather your tools. For a basic clean, you might want to invest in some prevention tools. A good scrub brush, gloves, and a mask to cover your face preferably are essential for protection. If you're feeling ambitious, an electric scrub brush can make the job easier and more effective. Oh, and don’t forget the cleaning solution—whether you go for a store-bought mold remover or a DIY mix of vinegar and baking soda, make sure it’s effective against mold.
What’s wild is that sometimes, just using natural solutions can do wonders! I’ve found that a mixture of vinegar and water works remarkably well to keep mold at bay. Just spray it on and let it sit for a bit before scrubbing—simple yet effective!
Moving Forward
So, now that we understand the why and how of black mold in our showers, it’s time to get our hands dirty (but not too dirty—remember those gloves!). The steps taken to clean your shower will not only tackle the mold but also keep your bathroom looking fresh and healthy.
Stay tuned, because in the next sections, we’ll break down the cleaning process step-by-step, ensuring you're armed with all the knowledge you need to face this problem head-on. Trust me, taking action now is the best way to prevent future problems down the line. You’ll be amazed at how a little elbow grease can lead to a mold-free sanctuary!
Understanding Black Mold and Its Risks
Black mold isn't just a pesky nuisance; it can lead to serious health issues if not addressed promptly. When I first discovered it lurking in the corners of my shower, I felt a wave of panic. The idea of something so small potentially causing harm was unsettling. Understanding the risks posed by black mold is crucial in motivating action.
Exposure to black mold can trigger a range of health problems, particularly for those with respiratory conditions or weakened immune systems. Symptoms can range from mild to severe and include coughing, sneezing, skin irritation, and even more serious reactions like asthma attacks or chronic fatigue. You know what? It’s wild how something as seemingly harmless as a shower can become a breeding ground for such a dangerous fungus.
The key thing to remember is that mold thrives in damp environments. Your shower, with its constant moisture, becomes an ideal spot for mold spores to settle and multiply. The longer you leave it untreated, the more significant the potential health risks become. I remember feeling a bit light-headed after a long shower filled with mold spores—just a reminder that those spores are more than just an eyesore.
If you or someone in your household has allergies or asthma, the risks are even greater. I found that my friend, who has asthma, would cough uncontrollably every time she visited my place for a shower. It hit me then: I needed to act fast.
One thing I learned during my research is that not all mold is black, but Stachybotrys chartarum, the notorious black mold, is particularly toxic. It produces mycotoxins, which can affect your health even in small quantities. That’s why it’s essential to recognize the early signs of mold growth and take immediate action. A simple vinegar spray can help, but it’s crucial to use it liberally in the affected areas. The vinegar solution works wonders in combating mold without relying on harsh chemicals.
If you think mold might be lurking in your shower, don’t just brush it off. It's not just about aesthetics; it’s about your health. I learned the hard way that waiting for a "better time" to deal with it only made the problem worse. The longer you let it sit, the more entrenched it gets. I’ve seen how quickly it can spread, and it’s not a pretty sight.
In summary, understanding the health risks associated with black mold can motivate you to tackle the problem head-on. Once I recognized the potential dangers, I was ready to arm myself with cleaning tools and solutions. It’s time to roll up those sleeves and get to work!
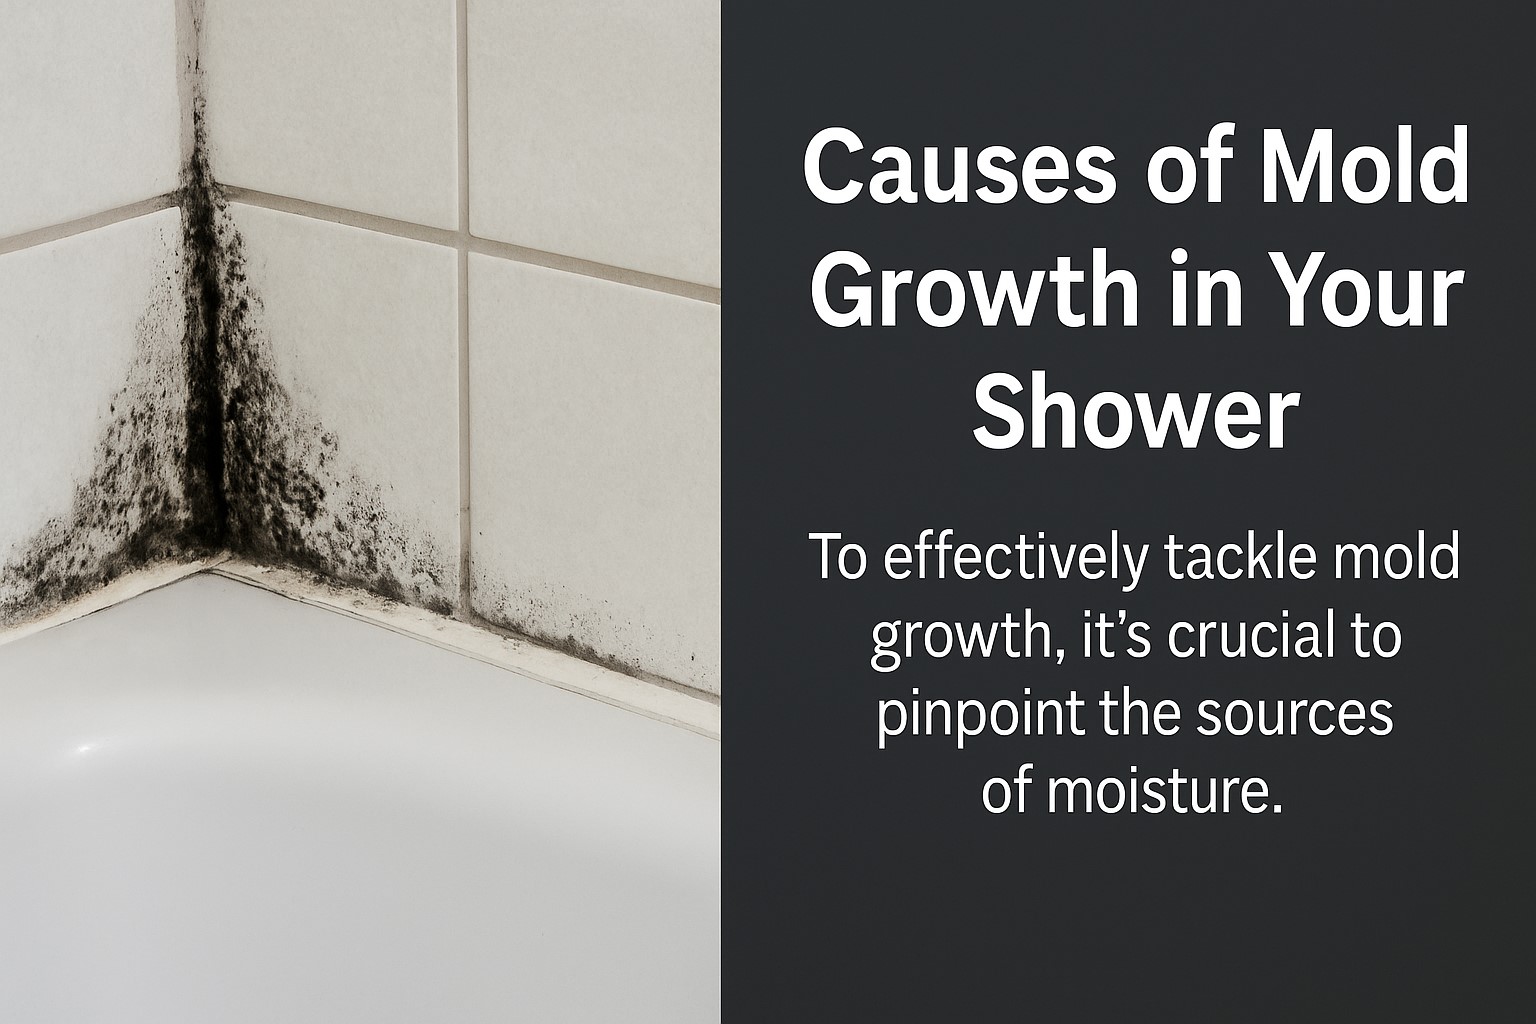
Identifying the Causes of Mold Growth in Your Shower
Mold loves damp environments, and your shower is practically a five-star resort for it. To effectively tackle mold growth, it's crucial to pinpoint the sources of moisture. Trust me, I’ve been there — discovering that what you thought was just a simple cleaning task turned into a deep dive into the hidden causes of mold was quite the eye-opener.
Poor Ventilation
One of the biggest culprits? Poor ventilation. If your bathroom lacks a proper exhaust fan or a window, moisture from your showers has nowhere to go. It’s like closing the door on a party and expecting everyone to stay cheerful inside. I remember a time when I’d step out of the shower and the air felt thick and heavy — not exactly a cozy vibe. The answer was as simple as cracking a window or running the fan a bit longer to help air dry the space.
Leaky Fixtures
Another sneaky source of moisture can be leaky fixtures. From faucets to showerheads, even the smallest leak can create a damp environment that encourages mold. I had a minor drip from my showerhead that I ignored for weeks. One day, I noticed a dark patch forming on the wall behind it. Boom! That was my wake-up call. If you see water pooling around your fixtures, it’s time to take remedial action. Don’t let those little drips lead to big problems — a quick fix can save you from a larger water damage restoration project down the road.
Cold Surfaces
You might be surprised to know that cold surfaces can contribute as well. If your bathroom walls and floors are cold, they can attract moisture from the steam created during your hot showers. Think of it like a cold drink sweating on a hot day. That condensation can lead to hidden growth behind tiles or in corners. To combat this, consider using proper waterproofing techniques. It might be worth it to invest in some insulation or just be mindful of how often you’re letting steam accumulate.
Towels and Bathmats
Let’s not forget about the towels and bathmats. If they’re damp and not allowed to air dry properly, they can become breeding grounds for mold. I used to leave my towels hanging on the rack, all bunched up — it seemed convenient at the time. But, guess what? I learned the hard way that they need some space to breathe. Make sure your towels and bathmats are spread out and fully dry before the next use. You can even whip up a cleaning trick by using a mixture of water and vinegar to wipe clean those surfaces occasionally.
Hidden Growth
Here’s the part that surprised me: mold can thrive in places you’d never think to check. Behind tiles, under the sink, or even in the caulking around your tub. I once found a patch of mold lurking behind a loose tile; it was like a horror movie reveal! Regularly inspect these areas, and if you see signs of water damage or mold, it’s time to take remedial action. A good deep clean can push back against that mold before it takes over.
So, as you can see, identifying the causes of mold growth is about observing your shower environment closely. By taking simple steps, like ensuring proper ventilation and keeping an eye on those sneaky leaks, you can significantly reduce the risk of mold becoming a recurring issue. Now that you know what to look for, you can be proactive in keeping your shower mold-free!

Essential Supplies for Mold Removal
Gathering the right supplies is crucial for effectively tackling mold in your shower. Trust me, I learned this the hard way after starting my cleaning mission without half the gear I needed. It turned a straightforward task into a frustrating scavenger hunt. So, let’s cut right to the chase and ensure you’re fully equipped!
Cleaning Solutions
First up, you’ll need a reliable cleaning solution. Many people swear by a mix of vinegar and water for moldy grout and mildew shower grout. It’s natural, easy to make, and surprisingly effective. If you prefer something stronger, a commercial mold remover like Concrobium can do the trick, especially if the mold has taken a stronghold. Just remember to read the label and follow the instructions carefully.
Brushes and Scrubbers
Next, grab a good scrub brush. A stiff-bristled brush is your best friend here, especially for those stubborn spots on the grout. I remember using an old toothbrush once—definitely not the best idea! A dedicated brush makes a world of difference. You might also want a sponge for wiping down surfaces and a smaller brush for tight corners and the edges of your shower.
Gloves and Protective Gear
Don’t skip the gloves! Mold can be nasty, and protecting your hands is a must. I always opt for rubber gloves to keep my skin safe from harsh chemicals and mold spores. If you’re sensitive to allergens, consider wearing a mask and goggles, too. It’s all about keeping yourself safe while you tackle the problem grout.
Spray Bottles
Having a spray bottle handy is essential, especially if you’re using a vinegar solution or a commercial cleaner. It allows for easy application and helps you control how much cleaner you use. Plus, it’s less messy—you don’t want to be spilling your cleaning solution all over your newly tiled shower!
Microfiber Cloths
Microfiber cloths are perfect for drying and buffing surfaces after cleaning. They catch dirt and moisture like a champ, and they’re reusable, which is a big win. I’ve found they leave surfaces streak-free, making your bathroom tile shine like new.
Bucket and Sponge Mop
A bucket is great for rinsing your brushes and holding your cleaning solutions. A sponge mop can also help if you’re dealing with larger areas of mold, like on the ceiling space or behind bathroom tile. I once tried to tackle a big patch with just my hands—it wasn’t pretty!
Trash Bags
You’ll want trash bags for disposing of any moldy materials you remove. This might include old caulk, damaged drywall subfloor behind the tile, or any mold-infested items. Keeping your workspace tidy is key to staying motivated during the cleaning process.
Grout Sealer
After you’ve cleaned and dried everything, applying a grout sealer will help prevent future mold growth. It’s designed to protect your grout and keep it clear from mildew. Trust me, this step is often overlooked but can save you from repeating this whole process in just a few months.
A Little Patience and Persistence
Lastly, remember that mold removal can take some time. You might need to apply your solution a couple of times, especially if you’re dealing with problem grout that decays easily. Just keep at it! And, if you start to feel overwhelmed, take a break. You’ve got this!
Now that you have your supplies lined up, you're ready to dive into the mold removal process with confidence. Happy cleaning!
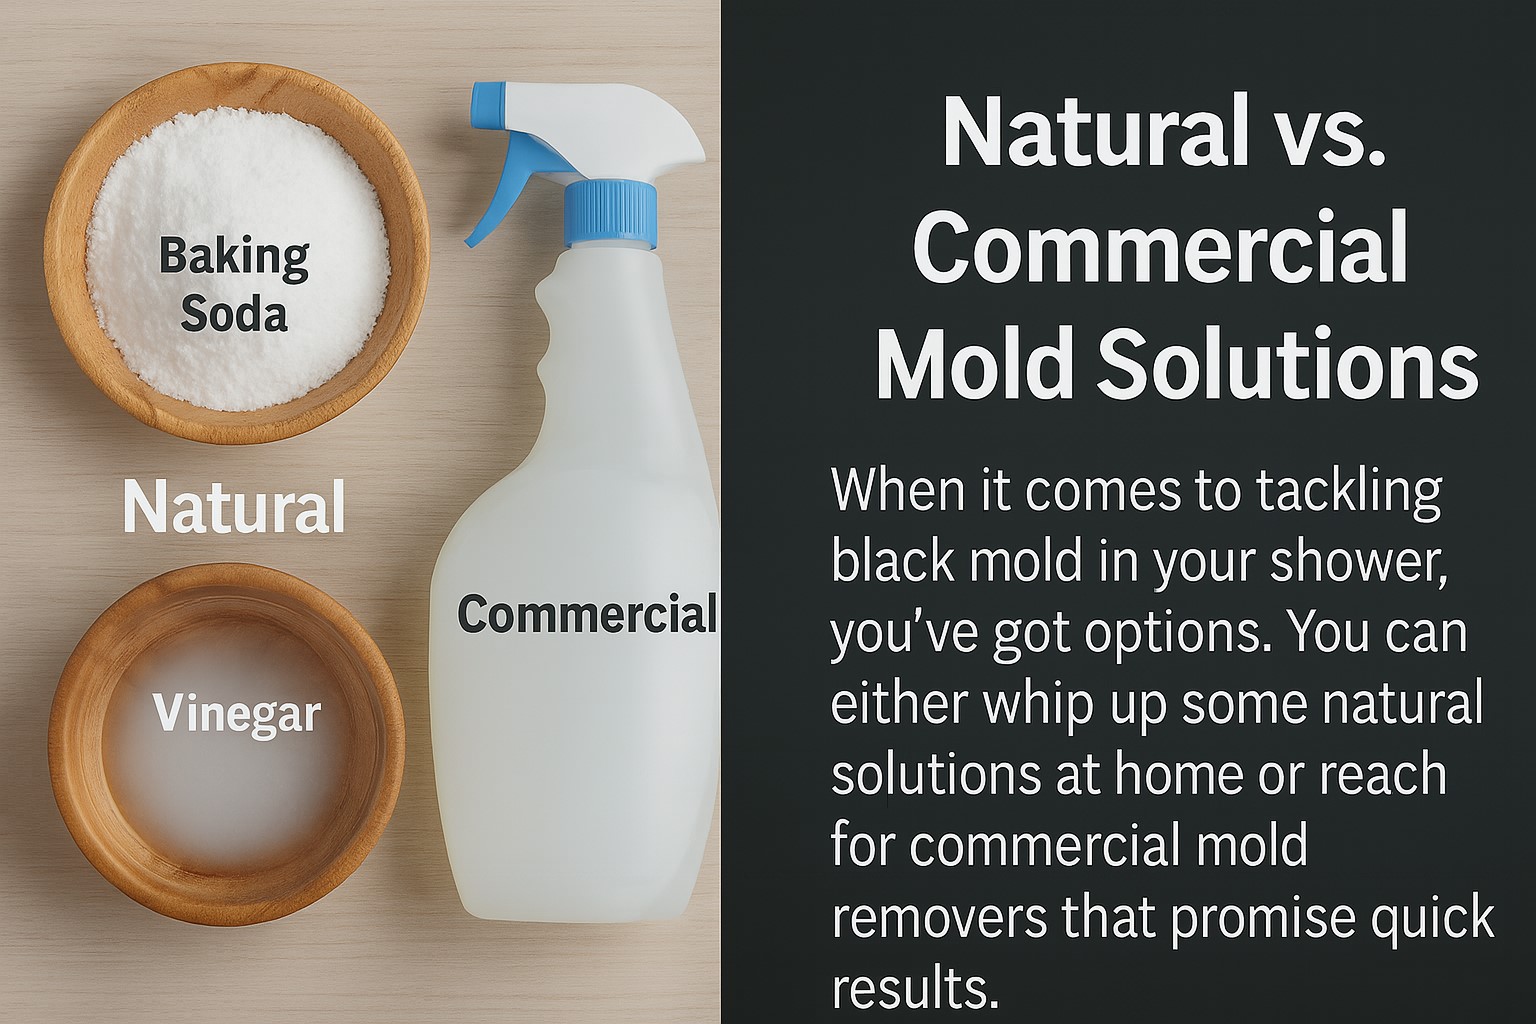
DIY Mold Cleaning Solutions: Natural vs. Chemical
When it comes to tackling black mold in your shower, you’ve got options. You can either whip up some natural solutions at home or reach for commercial mold removers that promise quick results. Knowing which mold solution works best for you can save you time, money, and a bit of sanity.
Natural solutions like baking soda and vinegar are often praised for their effectiveness and safety. I remember the first time I tried a vinegar solution on mold growing in my bathroom. I was skeptical at first, thinking, “Will this really kill mold?” But guess what? It worked! Just mix equal parts of vinegar and water in a spray bottle, and spray generously on the affected area. Let it sit for about an hour, and then scrub it away. The acidic nature of vinegar not only kills surface mold but also helps prevent future mold growth. It’s like giving your shower a little protective shield without harsh chemicals.
Now, if you’re feeling a bit more adventurous, you might want to try a baking soda mixture. This mold cleaning trick requires just a few tablespoons of baking soda mixed with water to create a paste. Apply it to the moldy spots, scrub, and rinse. It’s gentle on surfaces—perfect for those who want to avoid damaging tiles or grout. Plus, it’s an eco-friendly option that doesn’t leave behind any harsh residues.
What’s wild is that some folks swear by using hydrogen peroxide as a mold solution spray. Just grab a 3% hydrogen peroxide solution, spray it on the mold, and let it sit for about 10 minutes before wiping it off. I was surprised by how well it worked on stubborn mold. But, definitely wear goggles and a mask when using this one—mold spores can be pretty pesky, and you want to keep those at bay while you clean.
On the other end of the spectrum, commercial mold removers are convenient and often specially formulated for tougher jobs. These products can really pack a punch against mold growth, but they come with their own set of considerations. Many contain strong chemicals that can be harmful not only to the mold but also to your health. I remember using a popular mold remover once and feeling the sting in my eyes. That’s when I realized the importance of wearing appropriate goggles and a mask. It’s crucial to protect yourself, especially if you’re dealing with a heavy infestation.
Cost can also be a factor when choosing between these options. Natural solutions are generally more budget-friendly and can often be made with items you already have at home. Commercial products, while effective, can add up, especially if you’re dealing with a recurring mold issue. If mold keeps coming back, you might find yourself spending more on various products than you would using simple home remedies.
Ultimately, it’s about what feels right for you. Do you prefer the peace of mind that comes with using natural ingredients, or are you okay with the occasional chemical punch to get the job done? Both can remove surface mold effectively, but your choice will depend on your comfort level and how often you want to tackle mold growing in your space. So, go ahead and explore these options—your shower will thank you for it!
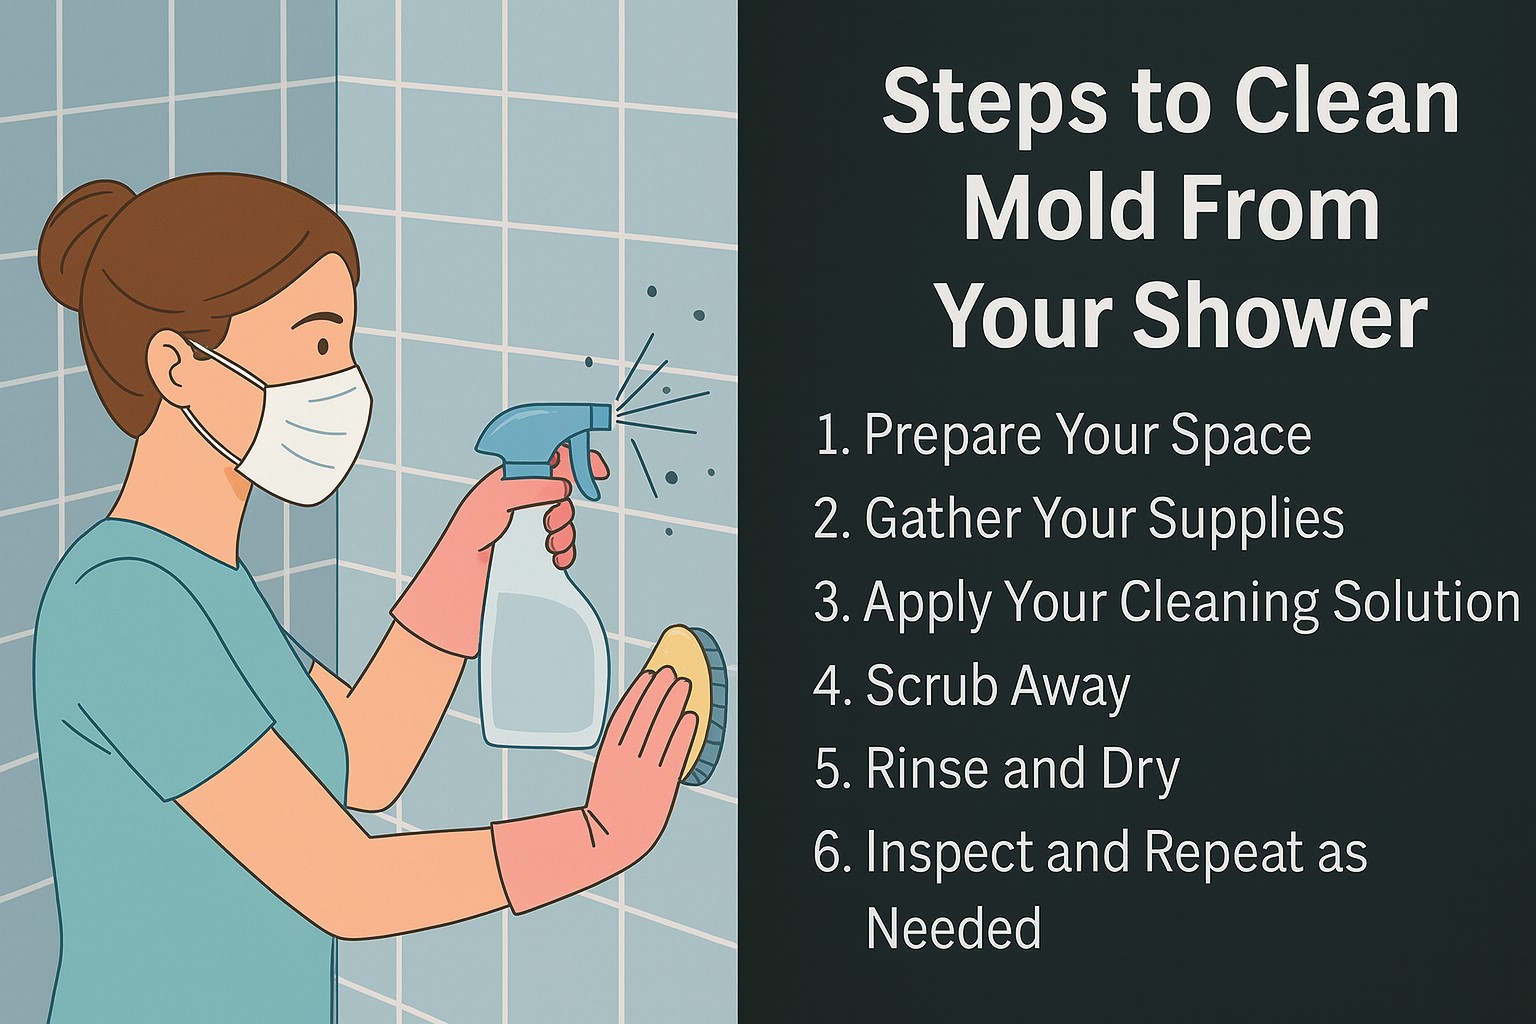
Step-by-Step Guide to Cleaning Mold from Shower Surfaces
Cleaning mold from your shower can feel like a monumental task, but breaking it down into manageable steps can make it a breeze. Whether you’re dealing with stubborn black mold or pesky mildew, this guide will empower you to tackle the challenge head-on. So, roll up your sleeves, and let’s get started!
1. Prepare Your Space
Before diving in, make sure to ventilate your bathroom. Open a window or turn on the exhaust fan to prevent inhaling any mold spores. You might feel a bit silly, but wearing a mask and gloves is a smart move, especially if you’re sensitive to mold. Trust me, I learned that the hard way after a few sneezes turned into a full-on allergy attack!
2. Gather Your Supplies
You’ve got your gloves and mask ready, but let’s not forget your cleaning supplies! Grab some baking soda, vinegar, and a spray bottle. A good scrub brush or an old toothbrush works wonders for those tight corners. If you prefer a commercial cleaner, ensure it’s safe for bathroom use and specifically targets mold (the last thing you want is to spread those spores around!).
3. Apply Your Cleaning Solution
For a natural approach, mix equal parts vinegar and water in your spray bottle. Spray it generously on the affected areas, focusing on the grout lines and any surface mold on tiles. If you’re using baking soda, sprinkle some directly onto the moldy spots. It’s like giving the mold a little exfoliation! Let your solution sit for about 10-15 minutes to really work its magic. This is a great time to take a breather — maybe even enjoy a quick scroll on your phone!
4. Scrub Away
Now comes the fun part — scrubbing! Using your brush, start working on the moldy areas. You’ll want to use a bit of elbow grease here, but don’t go overboard; you don’t want to damage your shower surfaces. If your shower has stubborn spots, you might find it helpful to go back in with that old toothbrush for the grout. Seriously, that thing is a mold-fighting hero!
5. Rinse and Dry
Once you’ve scrubbed every nook and cranny, rinse off the area with warm water. You want to wash away all that mold and cleaning solution. After rinsing, it’s crucial to dry your shower thoroughly. Grab a squeegee or a dry towel — I often use towels I’ve set aside for bathmats after a shower. This simple step can prevent mold from returning, keeping your shower looking fresh and clean for longer!
6. Inspect and Repeat as Needed
After everything is dry, take a good look around. If you see any stubborn mold still hanging on, don’t hesitate to repeat the process. It’s all about persistence. You might even be surprised at how much better your shower looks after just a little effort. I once had to go over a particularly moldy shower curtain a couple of times, but boy, was it worth it!
7. Maintain Your Clean Shower
Now that you’ve conquered the mold, let’s make sure it doesn’t come back. Keep your shower dry by running a squeegee after every use. And if you can, leave the door open to allow for air circulation. I’ve found a small fan set up in the bathroom after showers works wonders. It feels a bit like a mini spa day — and who doesn’t love that vibe?
By following these steps, you’ll not only rid your shower of unwanted mold but also create a cleaner, healthier space for those relaxing showers. You’ve got this!
Tackling Moldy Grout and Caulking
Mold loves to hide in grout and caulking, often thriving in those damp, hard-to-reach areas of your shower. If you’ve noticed dark spots or a musty smell, it’s time to tackle this hidden growth head-on. Don't worry; with some effort and the right approach, you can effectively clean these tricky spots.
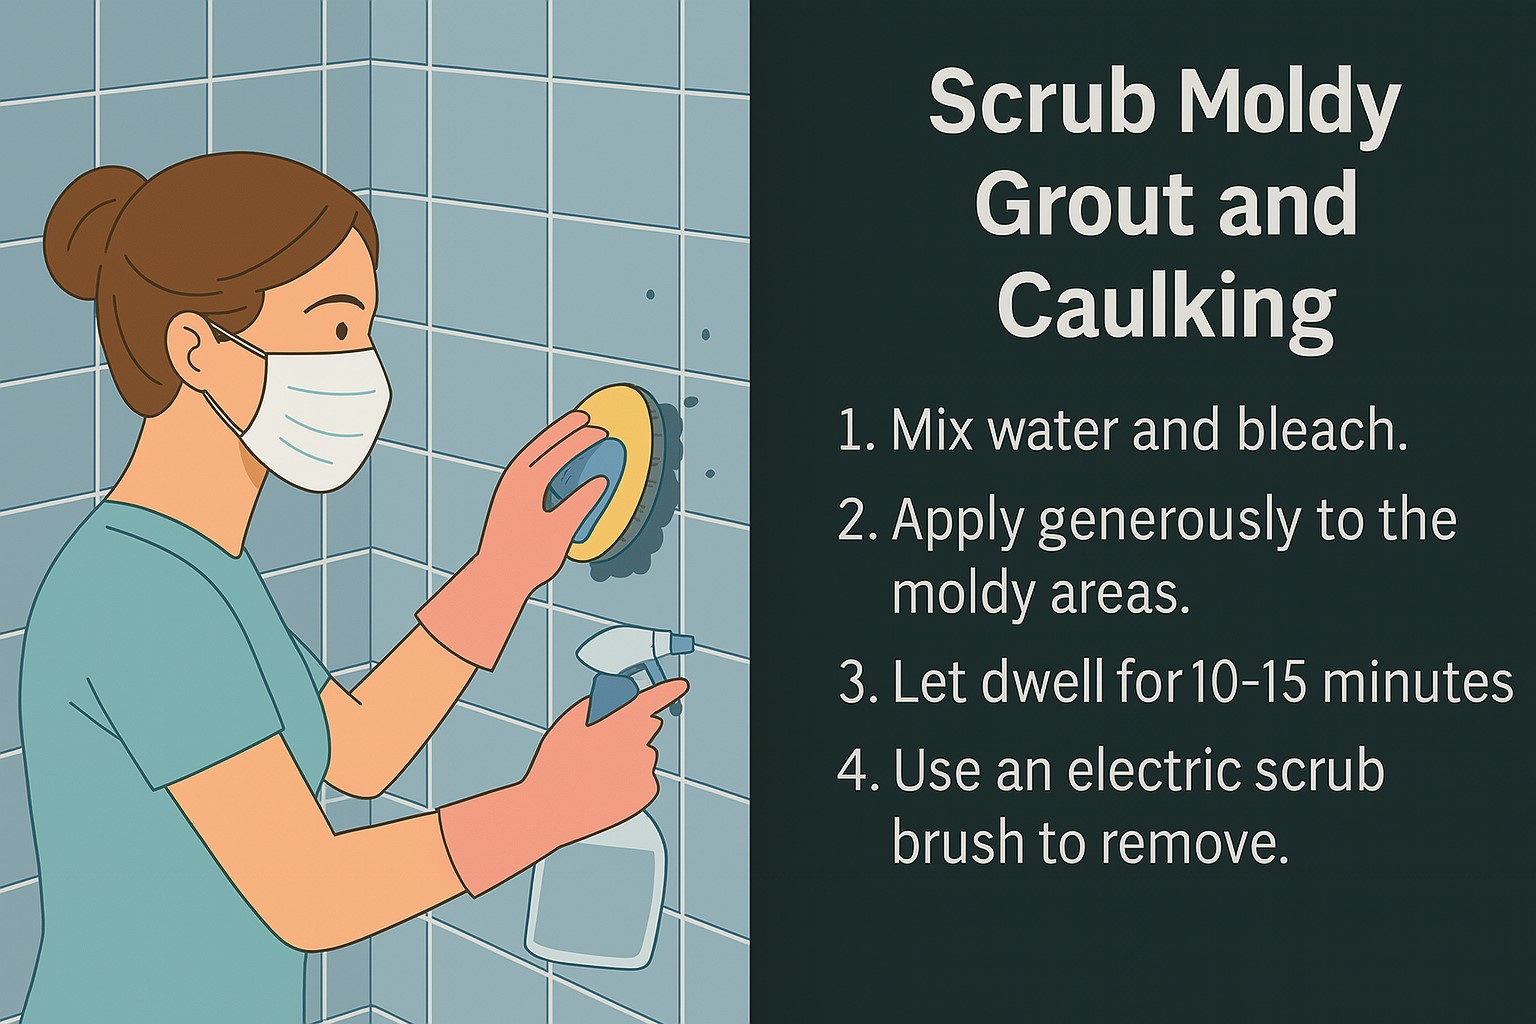
First, let’s talk about the cleaning solution. A mixture of water and bleach can work wonders here. I know, bleach sounds a bit scary, but when used properly, it can be incredibly effective. Mix about one part bleach to ten parts water in a spray bottle. Remember, you want to spray liberally on the affected areas, ensuring that you cover all the moldy spots. Just be cautious while splashing bleach around—avoid getting it on any colored surfaces or fabrics, as it can cause discoloration.
Once your solution is ready, it’s time to get down to business. I found that using an electric scrub brush really made a difference. If you don’t have one, a good old-fashioned brush will work just fine, too. What’s wild is how much easier it is to scrape heavy deposits when you put a little elbow grease into it. Start by applying your bleach solution directly to the grout and caulking. Let it sit for about 10-15 minutes. This dwell time allows the bleach to penetrate the mold, making it easier to remove.
Now, here’s where the fun begins: grab your brush and start scrubbing! You’ll want to use firm pressure, especially on those heavy deposits. For the caulking, try to get in there and really scrape away at any visible mold. Sometimes, the mold can be so embedded that it feels like you’re fighting a losing battle, but trust me, it’s worth it. I remember the first time I tackled this; I was shocked at how much cleaner everything looked afterward!
If you find that some areas still have stubborn mold after your first round of scrubbing, don't be discouraged. Just reapply the bleach solution and give it another go. It’s all about persistence. After you’ve scrubbed thoroughly, rinse the area well with warm water. You don’t want any bleach residue lingering around, especially since bleach can be dangerous if not handled properly.
Another thing to keep in mind is preventing future growth. To do this, once everything is clean, consider applying a grout sealer. It creates a barrier that helps keep moisture out, which is crucial since mold thrives in damp conditions. I wish I had known this sooner; it would have saved me from having to clean mold again in the future!
Lastly, if you notice any mold returning despite your best efforts, it might be worth investigating any leaks or excess moisture in your bathroom. Sometimes, it’s the underlying issues that need addressing to keep everything mold-free.
So, there you have it! Tackling moldy grout and caulking doesn’t have to be a daunting task. With the right tools, a bit of patience, and some elbow grease, you can reclaim your shower space from mold. Happy cleaning!
Preventing Future Mold Growth
To keep your bathroom free from mold in the long run, it’s crucial to create an environment that’s less inviting for those pesky mold spores. By addressing humidity and moisture, you can significantly reduce the chances of mold returning after you’ve cleaned.
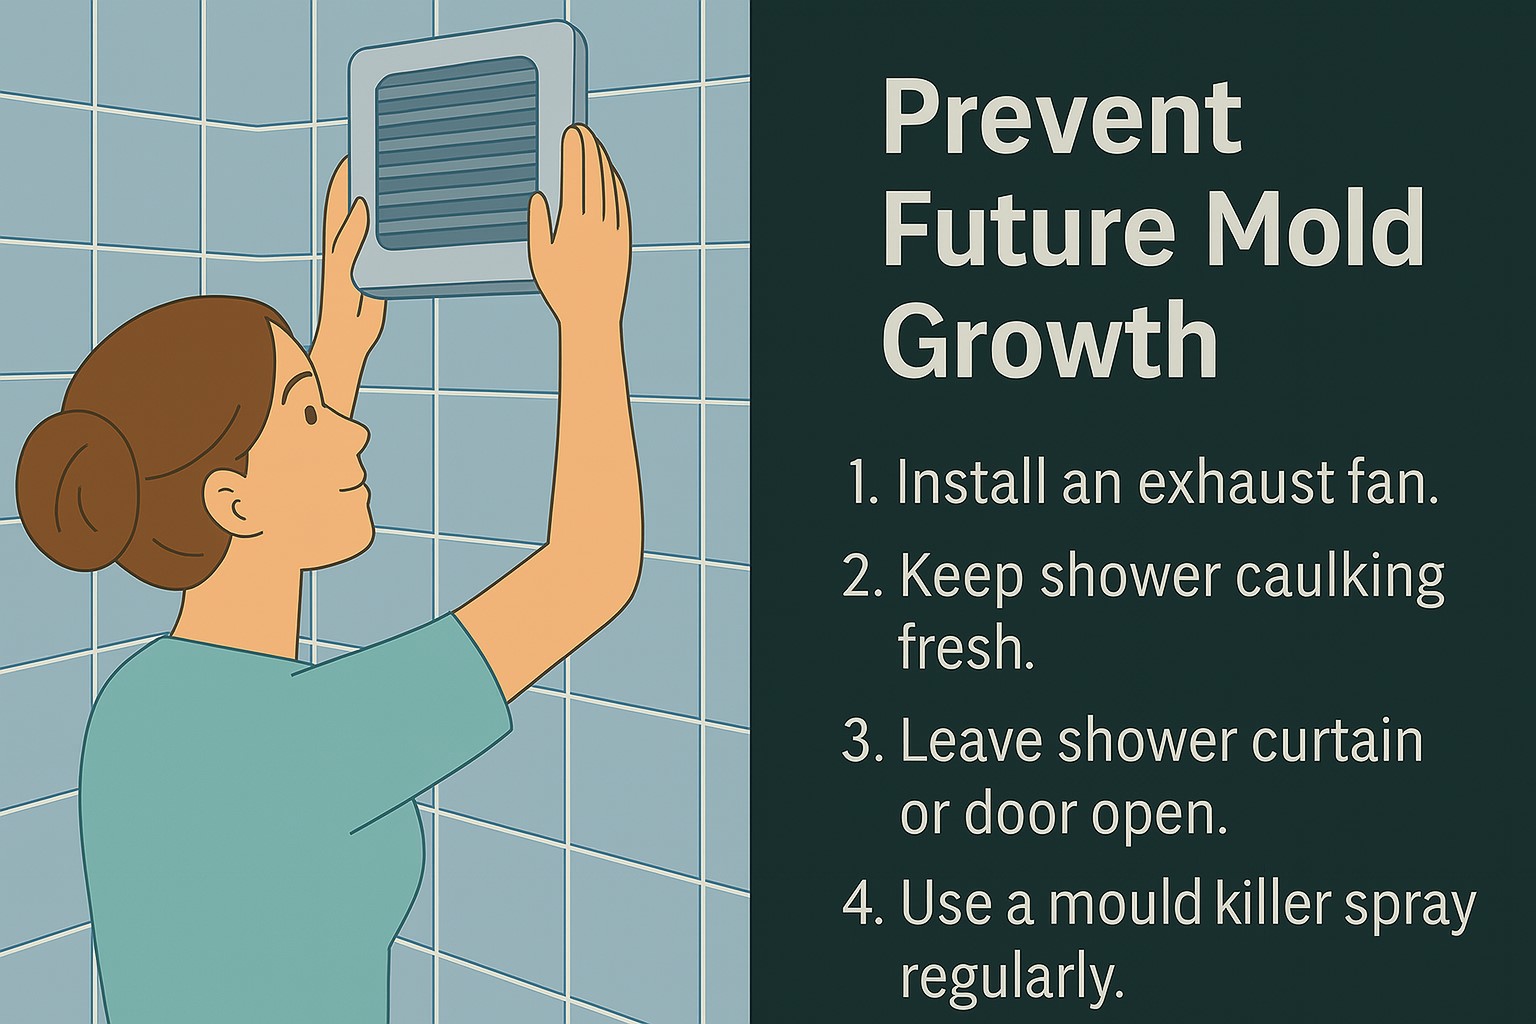
One of the best investments I made was installing an exhaust fan. You know how a hot shower can create a mini sauna in your bathroom? That humidity is like a welcome mat for mold. Since I installed a fan, I've noticed that moisture levels drop quickly after I shower. It’s like having a personal air circulation team that works overtime to keep my bathroom fresh. Make sure to run it during and for about 30 minutes after your shower.
Another simple yet effective change is to keep your shower caulking in good shape. Cracks or gaps in your caulking can become a cozy home for mold. If your mold shower caulking is looking worse for wear, it might be time for a replacement. Fresh caulking not only looks better but also acts as a barrier against moisture seeping into places it shouldn’t be. Trust me, a little bit of proactive maintenance goes a long way!
You might also want to consider leaving your shower curtain or door open after bathing. This one’s a game-changer! By allowing air to circulate, you’re not just drying things out but also actively working to clear mold mildew. Plus, it helps prevent that musty smell that sometimes lingers.
Don’t forget about the power of squeegees! After each shower, I take a minute to wipe down the walls and tiles. It’s a small task that takes just seconds but really helps to rid mould and keep surfaces dry. I’ve turned it into a habit, and now it feels like second nature.
Let’s talk about ventilation. If you have windows in your bathroom, crack them open whenever you can. Fresh air can be your best ally against mold. If that’s not an option, a dehumidifier can also work wonders by reducing moisture levels. I was surprised by how much of a difference it made in my bathroom’s overall feel.
And here’s something I didn’t realize until I started researching: keeping your bathroom clean can help prevent mold growth. Regularly using a mould killer spray can keep those harmful spores at bay. Just make sure to use it in well-ventilated areas to avoid breathing in any strong chemicals. I’ve found that using a vinegar solution is not only effective but also a more natural approach.
Lastly, think about your bathroom's overall maintenance. Check for leaks behind tiles or under sinks, because even a small drip can create a mold growth bathroom nightmare. If you suspect mold behind tile or in hidden areas, don’t hesitate to tackle it head-on. Ignoring it doesn't help anyone, and you’ll feel so much better once it’s out of sight and mind.
By implementing these proactive strategies, you’ll be well on your way to preventing future mold growth. It’s all about creating a less inviting environment for mold and handling any moisture issues before they escalate. With a bit of planning and habit changes, your bathroom can remain a mold-free sanctuary!
The Importance of Regular Maintenance and Inspection
Regular maintenance in your bathroom isn’t just a nice-to-have; it’s a must for preventing mold. By keeping an eye on things, you can catch any early signs of mold before they turn into a bigger issue. So, what should you be inspecting, and how often? Let’s break it down.
First off, think about your exhaust fan. You know, that little workhorse in your bathroom that helps clear out moisture? It’s crucial for keeping relative humidity in check. A fan bathroom should ideally be on during and after showers to allow air to circulate freely. Make sure your exhaust fan is rated appropriately for your bathroom size — a higher cfm rating means it can handle more moisture. If it’s lacking, consider planning on installing a bathroom vent with a higher rating. Trust me, you’ll be glad you did.
Now, if you’re like me, you might have a habit of shutting the bathroom door after use. But here’s the kicker: keeping the door open just a crack can help your bathroom vent prevent mold growth. Let that airflow do its thing! If you’ve got a window, that’s even better. Just opening it for a bit can drastically improve air circulation and reduce relative humidity. It sounds simple, but those little changes can make a world of difference.
I can’t stress enough the importance of checking for any leaks or damp spots behind your bathroom fixtures. You’d be surprised at how much moisture can hide behind a toilet or sink, creating the perfect environment for mold. A quick inspection every few weeks can save you a lot of hassle down the road. If you spot any discoloration or feel dampness, investigate further. It might be time for some remediation in the bathroom.
Another thing I learned the hard way is to pay attention to how your exhaust fans are functioning. If it seems like they’re not pulling enough air, they may be clogged or underpowered. A good rule of thumb is to check the cfm rating relative to your bathroom's square footage. If your fan isn’t rated high enough, it’s time to consider an upgrade. The right fan can make all the difference in keeping that pesky blue fuzz at bay.
And what about those dehumidifier buckets? I’ve found that keeping one in the bathroom can be a game-changer, especially in humid climates. They help absorb excess moisture, making it harder for mold to take hold. Just remember to empty it regularly — it’s all part of the routine maintenance that helps keep your space healthy.
Lastly, don’t forget to inspect the caulking around your bathtub and shower. Cracks or gaps can allow water to seep into areas that are hard to dry, which can lead to mold. If you notice any issues, don’t hesitate to replace the caulk. It’s a small fix that can have a big impact on your bathroom’s health.
Regularly checking these areas and making adjustments as needed can prevent mold from becoming a bigger problem. It’s all about creating a proactive approach to bathroom maintenance. Trust me, you’ll thank yourself later when your bathroom remains a safe, mold-free zone.
Reflecting on My Mold Removal Journey
Looking back on my experience with shower mold, it’s clear how much I learned through the ups and downs of tackling this pesky issue. Honestly, I never thought I’d spend so much time worrying about mold in my bathroom. But here we are! What started as a careless oversight quickly turned into a journey of discovery and growth.
At first, I felt overwhelmed and maybe even a tad lazy about it. I mean, who wants to scrub a shower when you could kick back and relax instead? But once I saw that black mold creeping in, I knew I had to step up. The buildup meant I had to get something done—fast. It wasn’t just about aesthetics; it was about creating a healthy space for my family.
The process took more time than I anticipated, with prep time and active time adding up. I discovered that removing mold is not a one-and-done deal; it’s a commitment. I had to repeat the process a couple of times to ensure I wasn’t just masking the problem. Each time I came back to the task, I learned something new.
What’s wild is how much support I found once I decided to ask for help. I reached out to the team at MoldRM.com, and they offered great advice that helped me navigate the tricky spots. “Please let us know if you need assistance,” they said, and that was a game-changer. Their tips on proper mold removal techniques saved me a lot of time and frustration. I realized that reaching out for help isn’t a sign of weakness; it’s a smart way to tackle challenges.
Reflecting on this journey, I see now that maintaining a clean bathroom is an ongoing process. I’ve learned to be proactive rather than reactive, focusing on prevention to avoid that buildup in the first place. My routine now includes regular cleaning to keep mold at bay. It’s not a huge time commitment—just a few minutes here and there—and it makes a world of difference.
What surprised me the most was how empowering it felt to tackle this issue head-on. I used to think cleaning was just a chore, but it turned into a personal project that taught me resilience. It’s a reminder that sometimes, when you take the time to invest in your space, it pays off in more ways than you expect.
So, if you’re on your own mold removal journey, remember: it’s okay to struggle a bit. We all do at some point. But with the right knowledge and a little determination, you can turn that struggle into a success story. Don’t hesitate to reach out to your community for tips and tricks—there’s always someone who’s been there before. And hey, if you’ve got great advice or your own journey to share, please let us know! Together, we can keep our bathrooms mold-free and healthy for everyone.
For more tips on effective mold control and remediation strategies, feel free to explore our blog and reach out for personalized advice on keeping your home safe and healthy.